Aligni utilizes the relationships between parts, manufacturers, vendors, and contacts to efficiently guide you through the purchasing process. Please make sure you have these relationships defined appropriately to make the most of the Purchasing feature.
Creating a New Purchase
A purchase in Aligni defines multiple purchase orders (PO) which are each defined for a single vendor. The purchase holds all the items you are buying from each vendor. Of course, if you prefer, you can keep purchases isolated to a single PO and a single vendor.
You create a new purchase by navigating to the Purchases main tab, then clicking on “New”. Aligni will create an empty purchase order and automatically select it as the active Part Cart if the Part Cart is not already in use. If you close the Part Cart, you can always come back to the purchase and click “Select for Part Cart” to make the purchase the active Part Cart target.
Title
By default, Aligni assigns the current date as the title of the purchase. The purchase title must be unique, so if multiple purchases are created for the same date, a sequence letter is added to the end of the title. Click on the purchase title in the top left corner of the purchase to change this title.
Note that the purchase title is different than the purchase order numbers; a purchase includes one or more purchase orders, each to a different vendor. Aligni assigns purchase order numbers in sequence according to the settings in your site configuration.
Description
The purchase description text is also shown on the purchase manager. It’s optional but may be helpful to briefly identify the purpose of the purchase, current status, or the items on the purchase. The description may be modified at any time even when the purchase has been committed.
Currency
By default the Purchase will be specified in your Site Currency. You may select an alternate currency prior to adding items to the Purchase. Once items have been added to the Purchase, the currency cannot be changed.
Adding Parts
Once the purchase has been created, the items you add to the purchase will determine which vendors are selected as purchase order recipients.
Managed Items
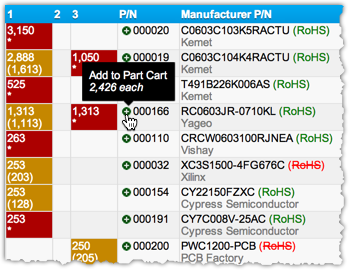
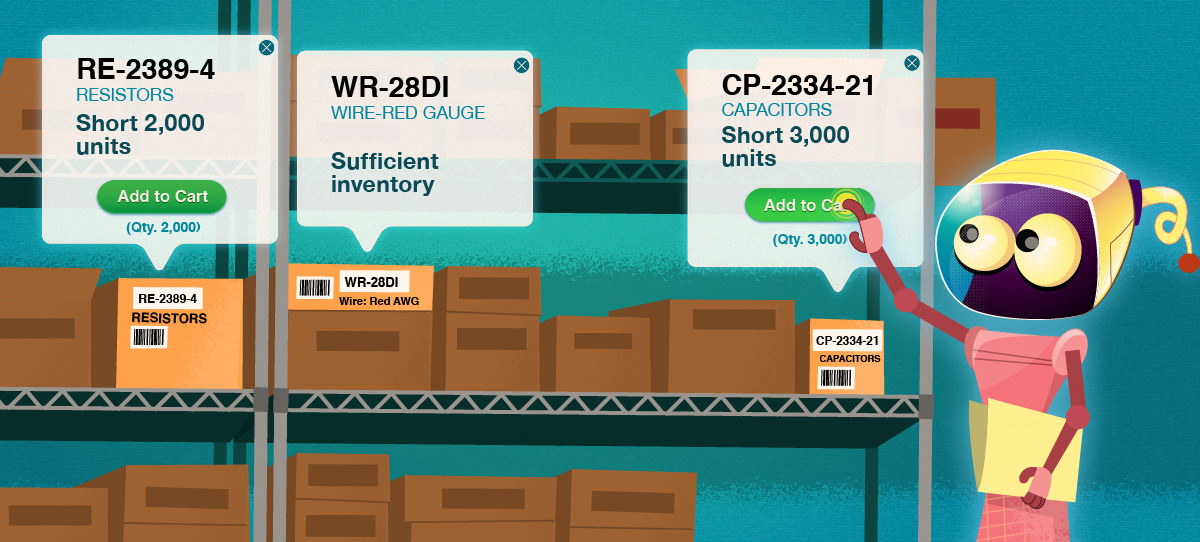
Managed items are parts already defined in your database. Most often, they are physical parts that you will receive from your vendors and enter into inventory. You can add managed items to the purchase by browsing to appropriate pages and adding the items to your Part Cart. For example, you can use the Inventory Shortage Report as a convenient list of parts you’re short for build allocations. From this page, both the part and its shortage quantity are added to the purchase, so you have a reference quantity to purchase.
The Part Cart works from any list of parts, though. So you could browse to an assembly’s Kit List or Part List and add items from there, too. For single parts, the QuickSearch is also available and the summary information includes an Add to Part Cart link.
When you add a part to a purchase, a “snapshot” of the part information is stored on the purchase so that the purchase data remains consistent even if these things change later. If a part revision changes later, you would need to remove and add that part to the purchase again to capture the new information.
- Part Number
- Part Revision Name
- Manufacturer Name
- Manufacturer Part Number
Unmanaged Items
Unmanaged items are line items you add to the purchase that do not have a corresponding part in your database. Examples of unmanaged items would be non-recurring engineering (NRE) charges, setup fees, or shipping and handling fees. These items can still be marked as received, but are not entered into inventory.
Vendor PO Details

Vendor PO tabs only appear when you have items on your purchase and have selected vendors from which to purchase those items. These tabs are automatically created when you add new items.
Each vendor receives a unique purchase order (PO) with its own detail information. You can click the link to assign a unique PO number to each vendor PO. This will automatically increment to the next PO number after assignment. [Note: The site administrator can change the next PO number in the site settings pages.]
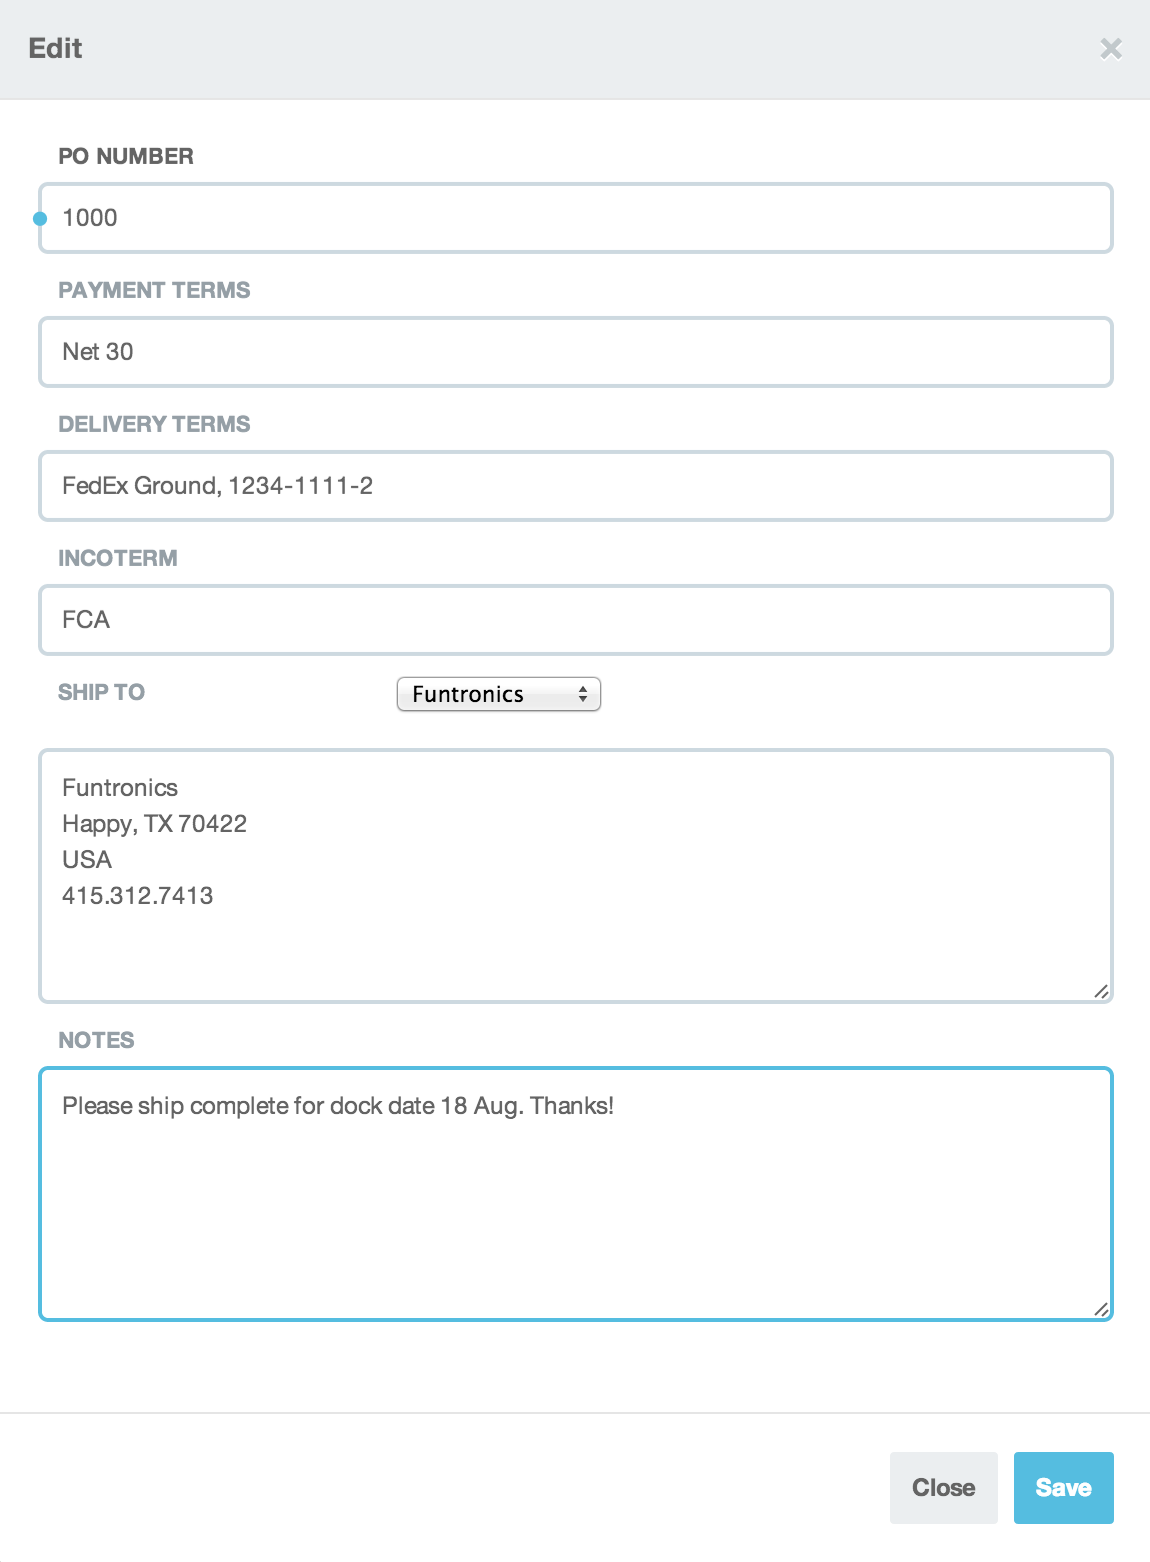
You specify the other PO information by selecting a vendor tab and clicking on the Edit icon to open a dialog with several entries. This information will appear on the purchase order PDF you email to your vendors.
- Payment Terms – Examples: “Net 30”, “Credit Card”, or “Due on Receipt”
- Delivery Terms – Examples: “FedEx Ground”, “Best Way”, “UPS Overnight, account #123456”
- Incoterms – Examples: “FCA”, “DDP”, “Deliver Duty Unpaid”
You may set default values for these terms for each vendor by editing the vendor’s detail in the Suppliers area. When defaults have been set, the values for the PO will be pre-filled with this default information.
Ship-To Location
You can select one of your inventory locations as the ship-to location for the order. When an inventory location is specified for the PO, only accounts with permission to receive inventory at that location will be able to do so.
Attachments
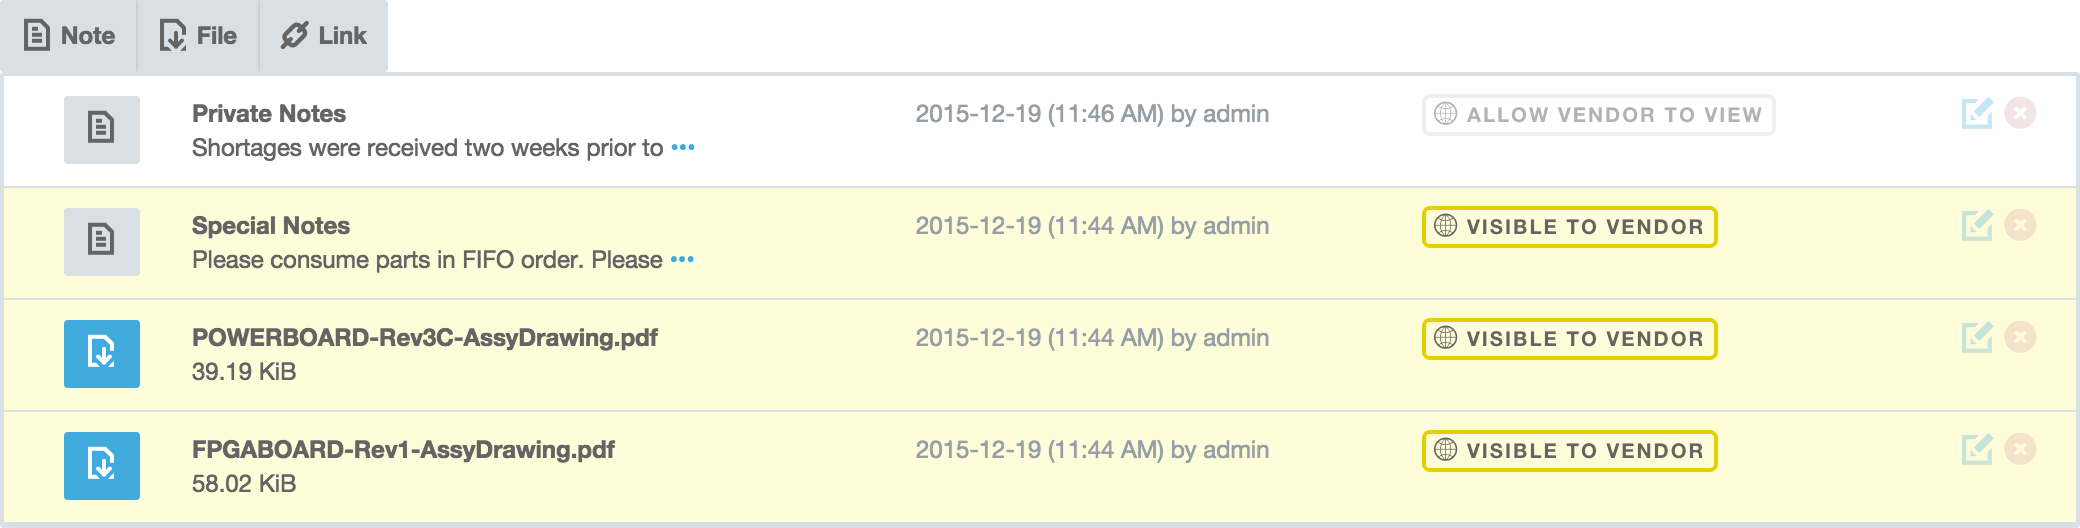
Attachments for Purchases work similar to the attachment interface elsewhere in Aligni with one exception: for each attachment, you may specify whether or not the attachment is shared (visible) to the vendor. When visible, the vendor will be allowed to see and download available attachments through the vendor view web page for the PO. A link to this page is included in the email you send to vendors.
Note that attachments are NOT attached to the email. They are only available to vendors through the link provided in the email.
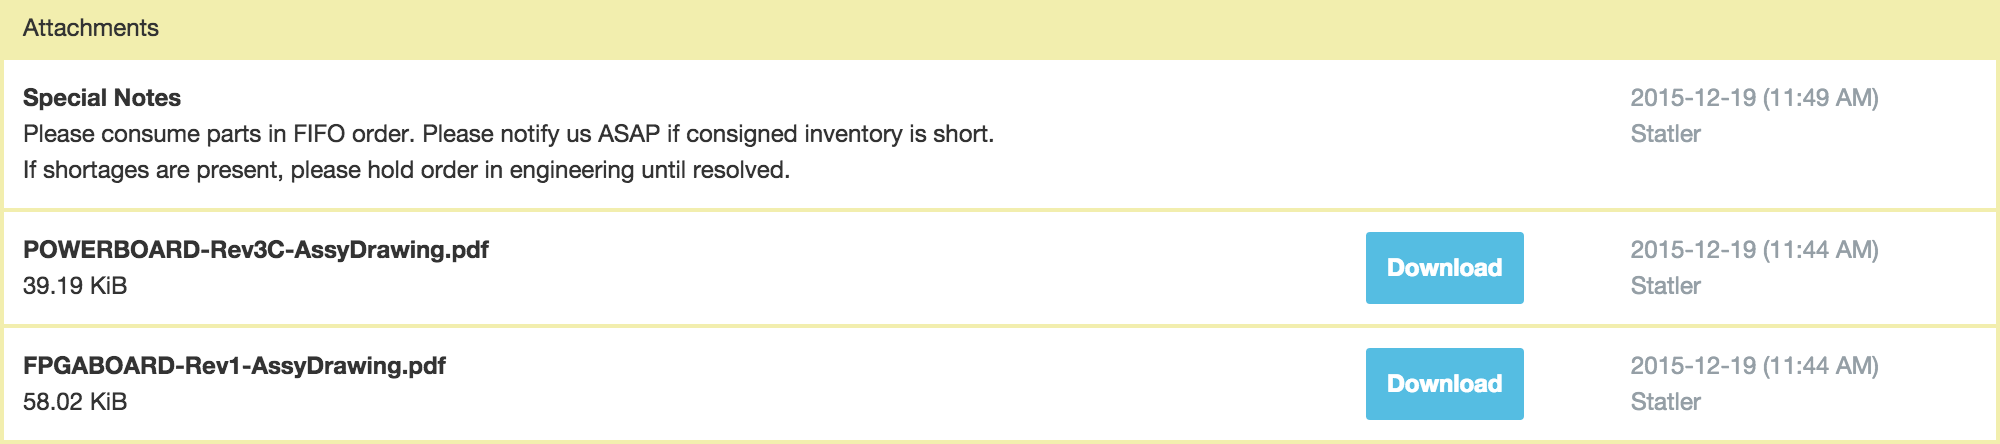
Vendor Visibility
Vendors will see attachments in a section of the PO visible online.
Commit / Uncommit
At any time, you can commit (lock) or uncommit (unlock) a purchase. Committing a purchase locks it so that no changes can be made. You would generally want to commit a purchase to avoid changes from being made accidentally. You will need to uncommit the purchase to make changes.
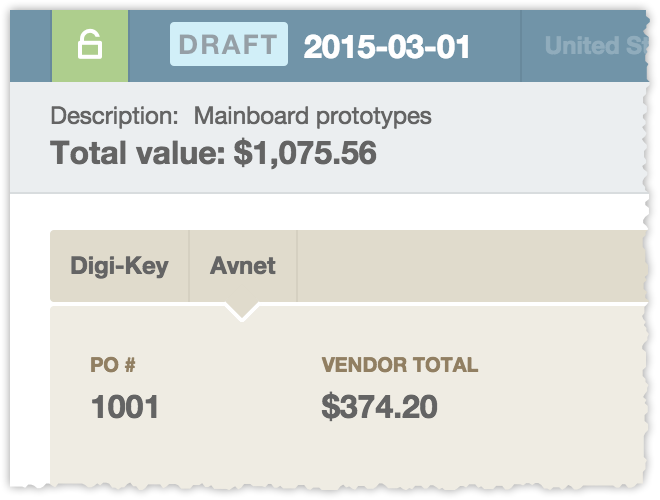
An uncommitted purchase will be shown as Draft in the purchase index. A committed purchase is shown as Open or Closed depending on the status of items on the purchase.
Delete
If you decide to cancel a purchase, simply select Delete from the purchase page to destroy it. You can delete a purchase that you have already received parts for, but we do not recommend it. It’s usually best to leave the purchase as a permanent record.